Visual Guide: Characters
Table of Contents
Editing a colonist's name
*NOTE: Genos cannot have their names changed, as their names store important information about their identity. Once they are designed and approved, you will be able to use this guide to edit their name.
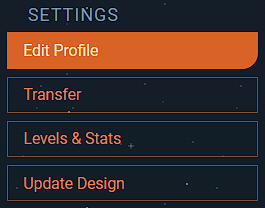
To edit a colonist's name, you must click "Edit profile."
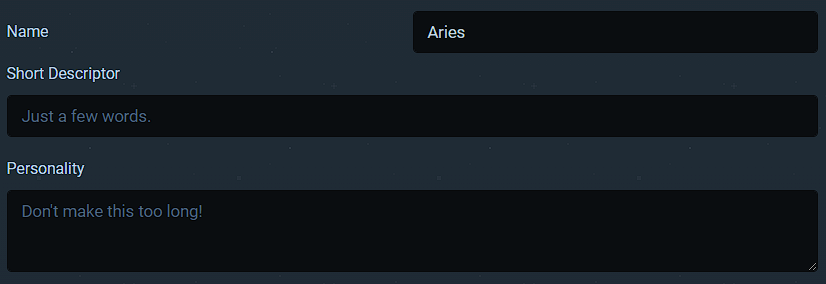
There, you will be able to change the name, the short descriptor that shows up on your colony page (user profile) and add your own profile text and decorations for the Profile page.
To be clear, the profile page is not the info page, it's in the tab called 'profile' to the left of the main colonist page.
Design/Geno Updates
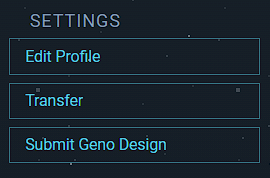
If you have a geno, you will need to submit a GENO DESIGN via its page's sidebar before you can begin earning experience. If you attempt to include a geno in a Submission, you will not be able to find it in the list.
 or
or 
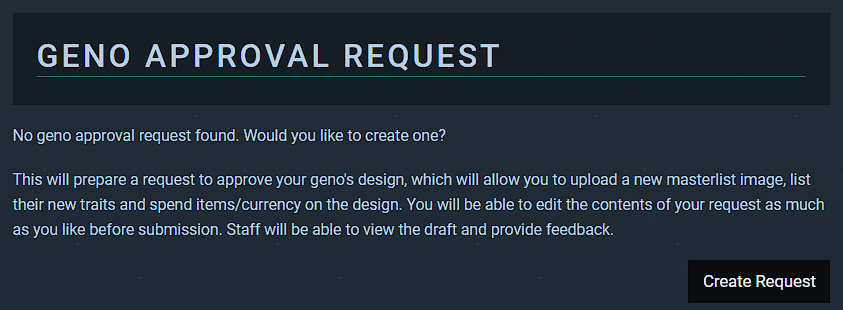
The next page you see will be this. It'll be a bit different if you're updating an existing design, but the idea is the same. Hit "Create Request."
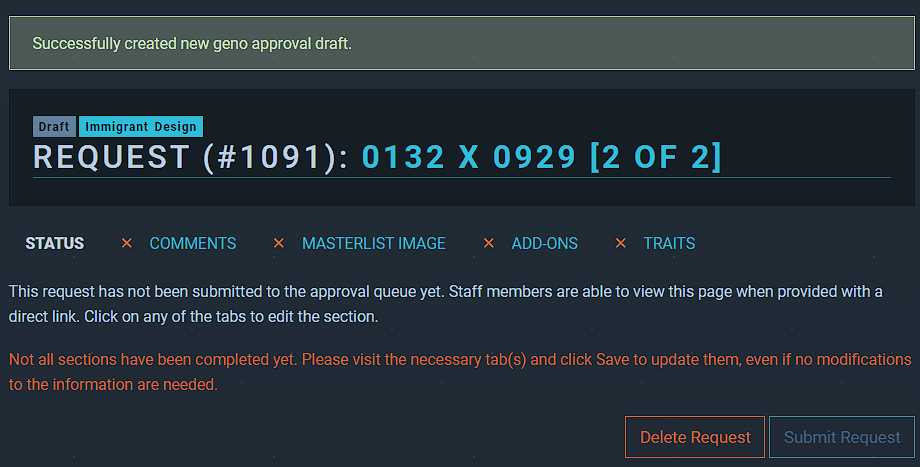
The request has been created but is currently a draft. You will have to go through every one of the tabs below (Comments, Masterlist Image, etc) and submit each to be able to submit the final request to the admins to approve.
You will notice two tags by the request title, while these are the possible ones:
- Draft shows that your design update request hasn't been submitted yet or has been returned to corrections.
- Starter is for your first colonist. This puts it in a special queue so that we can take care of it quickly!
- Immigrant Design pops up on those from the Immigration account, so you won't see this. These help us organize them in the staff end.
- Pending will show when you have submitted it and it is waiting for staff to approve.
On that first Comments tab, you can leave it blank if you don't need anything special for the colonist. This is where you want to include certain things such as if your colonist has underbelly and its colour is being inherited from a parent.
Make sure you save the page and the X in the tab is replaced with a green check or circle.
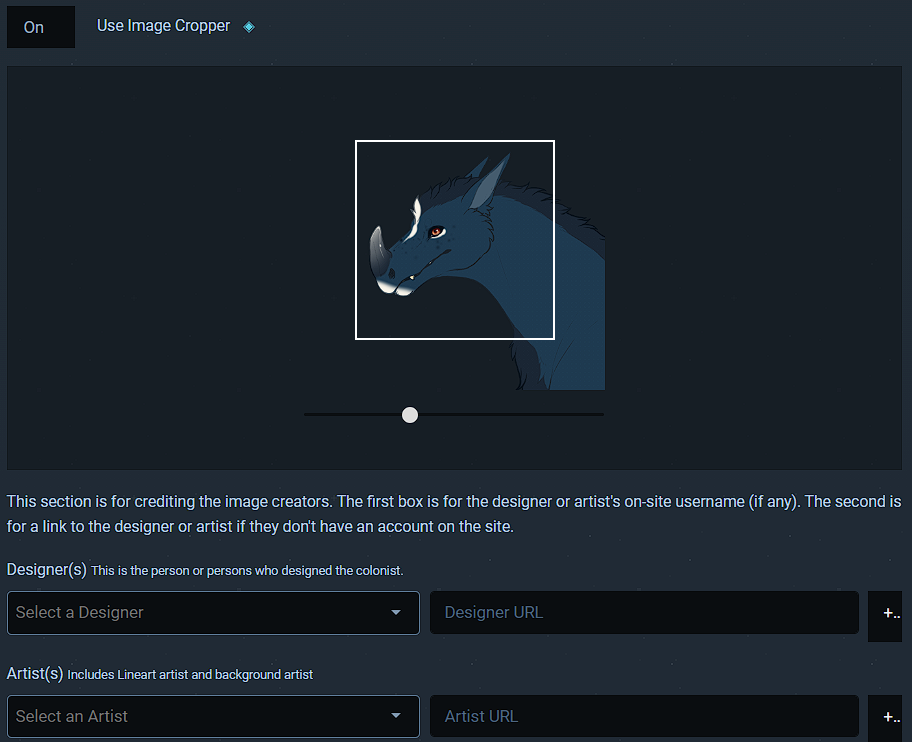
The next page is important. This will be your design, which of course you'll need to make in accordance with the design guide. You should follow the colonist creation rules for your design, especially if you are using custom lineart. The file has to be below 1 MB in size otherwise the site will complain and make you redo the image upload.
If you used official line art, you will include the artist's colony as listed in the gallery post for the art. Most are made by our creator, so you would use the colony name as listed there.
If you have an item that you want to use to affect the design update in some way (such as an item that permits design changes or adds a mutation) you'll need to add it on the Add-Ons tab. As it states, the item will be removed from your inventory but should be returned if the draft is rejected.
Just hit save on the Traits tab, unless you had an item that added a specific mutation or you want to add a free defect such as Blind or Deaf. If you are aging a colonist up, you should change Age from Whelp to Adult.
If you've saved all tabs, there should be a check next to status! Head on over to that tab and hit Submit Request. Then you can sit back and relax - it's up to us admins to handle it from there!

Colonist's Bank
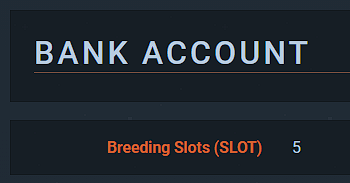 Certain specific attributes are stored in this area, though the most universal piece is their breeding slots. These get used up when breeding permissions are shared or the colonist is bred from your colony. If for any reason your colonist has none but has never bred, they may have been an older colonist or older geno where the slots were not automatically calculated and applied. In that case, please contact us via Discord to let us know and we will fix this promptly!
Colonist's Inventory/Personal Items
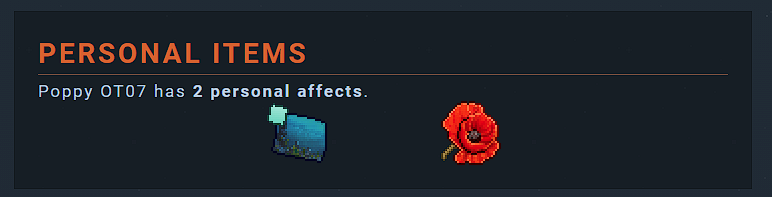 If you have an item in your user inventory that can be attached to colonists, for instance Background Images, you may attach them by selecting the item from your colonist's full inventory and in the modal, hitting "Attach" and attaching the item to a colonist.
Some items, such as backgrounds, can only have one held at a time per colonist and will be deleted from the colonist if you want to set a new one. Others, such as little baubles or trinkets with no gameplay components, may not have limits to how many are held by a colonist. You may even have one that hoards different types of a particular item, that's up to you!
Colonists have no "carry weight" as items and currency have no weight.
Level Area
Every colonist (besides genos) has what's called a Level Area. This is found in the sidebar under Settings (Levels & Stats) and is where you go to level up your colonist or apply stat bonuses.
Remember that levels are increased by earning experience or XP through various site activities, particularly by creating art or literature of your colonist.
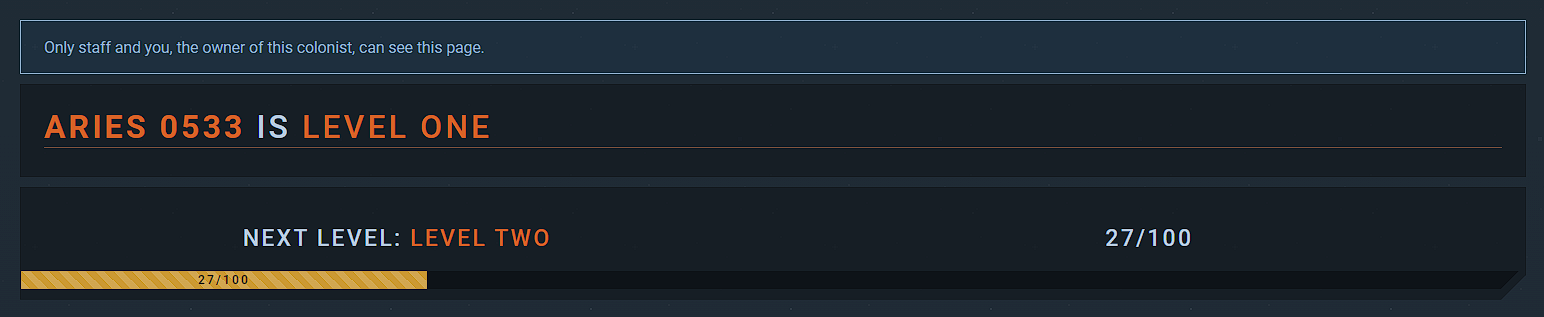
At the top of the page is an indication that only staff and you can see this page. Below that is the Level of your colonist as well as the Experience Point count and how many points are left before your colonist reaches the next level. If you've reached the top level that's released, it won't list a count there. When you've reached the number of XP you need to get to the next level, go here and there will be a big bright "Level Up" button.
Leveling up often gives your colonist Unallocated Stat Points and Breeding Slots to use. The Unallocated Stat Points will be visible in the image below with buttons on each of the stats to add a point to that stat.

The first stat you can see is the "HP" or Health Points/Hit Points stat. You will see their actual HP count, which is calculated based on base species and constitution, as well as a percentage of their current health. You will also see a visual indicator of their health to the right. When they're below 50% health, they can't breed, and if they're even lower, they might be unable to do other activities until they are healed.
Colonists automatically gain the status effect of "Injured" when their health reaches 0. We will never kill your colonists without permission, so you don't have to worry about a colonist reaching 0% and dying without you being able to save them. We just encourage healing, particularly in the Hospital, to keep your colonists on top of their game.
Most levels have a "stat cap", usually 20, where you can't add stat points to go over that base stat count. Each stat has a "Base" and a "Level" as well as a little modifier (+0) indicator.
Stats should never be 0, because that would mean the colonist is comatose or dead. Feel free to look at this external resource to read what the different numbers would mean and how they would affect your colonist.
The base of a stat is its inheritable level or the stat without any modifiers put onto it. This is what you look at when you're breeding a colonist!
The level is just how many times you've added to that stat.
The modifier or the number in parenthesis, is the adjustment given by having items such as weapons or gear equipped to your colonist. If a stat is modified, it is the modified state that is looked at to calculate Skills.
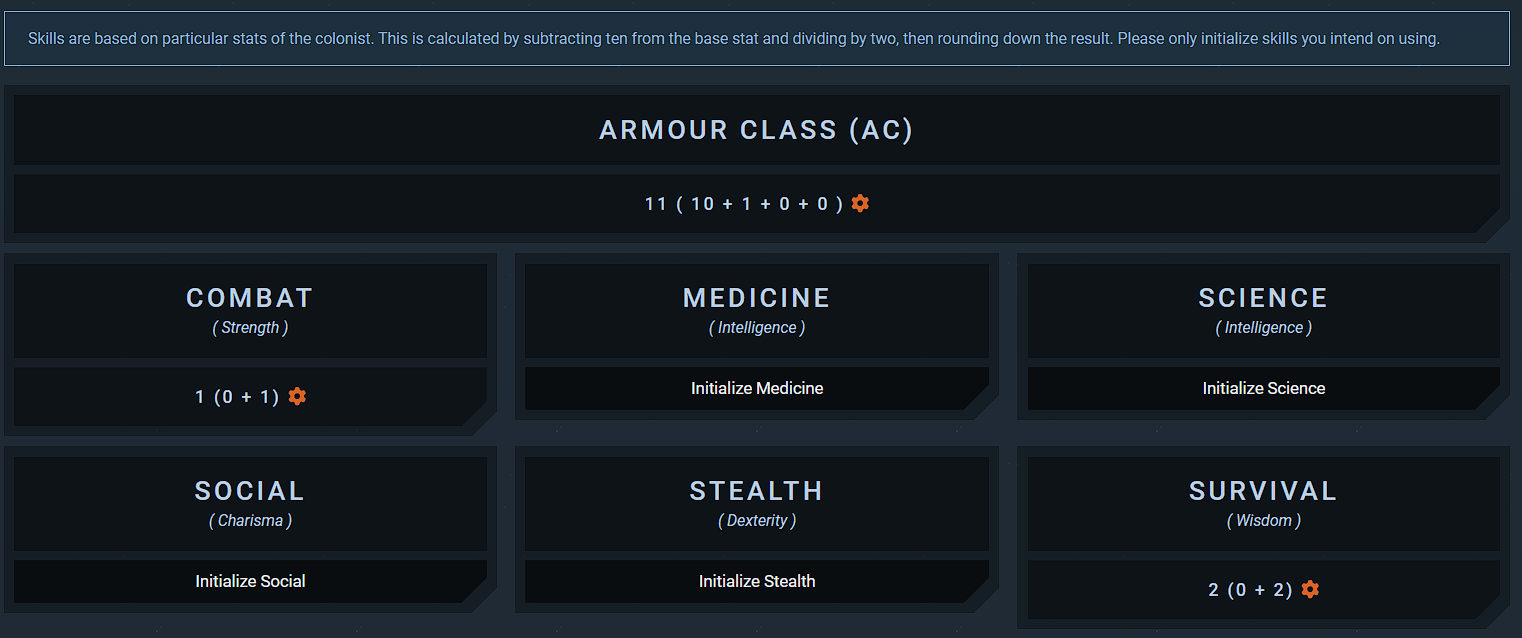
Skills are based on individual stats. For instance, Combat uses a modified calculated based on the Strength stat. Just like in some tabletop RPGs, a stat of 10 is seen as "average" and gives no benefit or detriment to skills it affects. Once you go down or up, though, a modifier is calculated. Every two stat points, the skill modifier goes up by one, so a colonist with a strength of 1 would have a Mining skill of -5.
Armour Class is useful for dangerous activities, such as Mining or Scavenging, where a colonist might roll badly and risk an injury. In this case, a second roll is performed against the colonist's AC. If they succeed (it rolls lower than the AC), the injury is instead simply a loss of some HP. It can be increased by equipping specific gear or armour.
Unlike stats, skills other than Armour Class must be initialized before they can be used. This is easy: Just hit the button beneath that skill. We request that you only initialize skills that you will use, but please don't forget! If you do an activity that uses an uninitialized skill, it will automatically believe the skill level is -10.
Base skill levels may be affected permanently by the Wheel of Mercy or other mysterious ways.